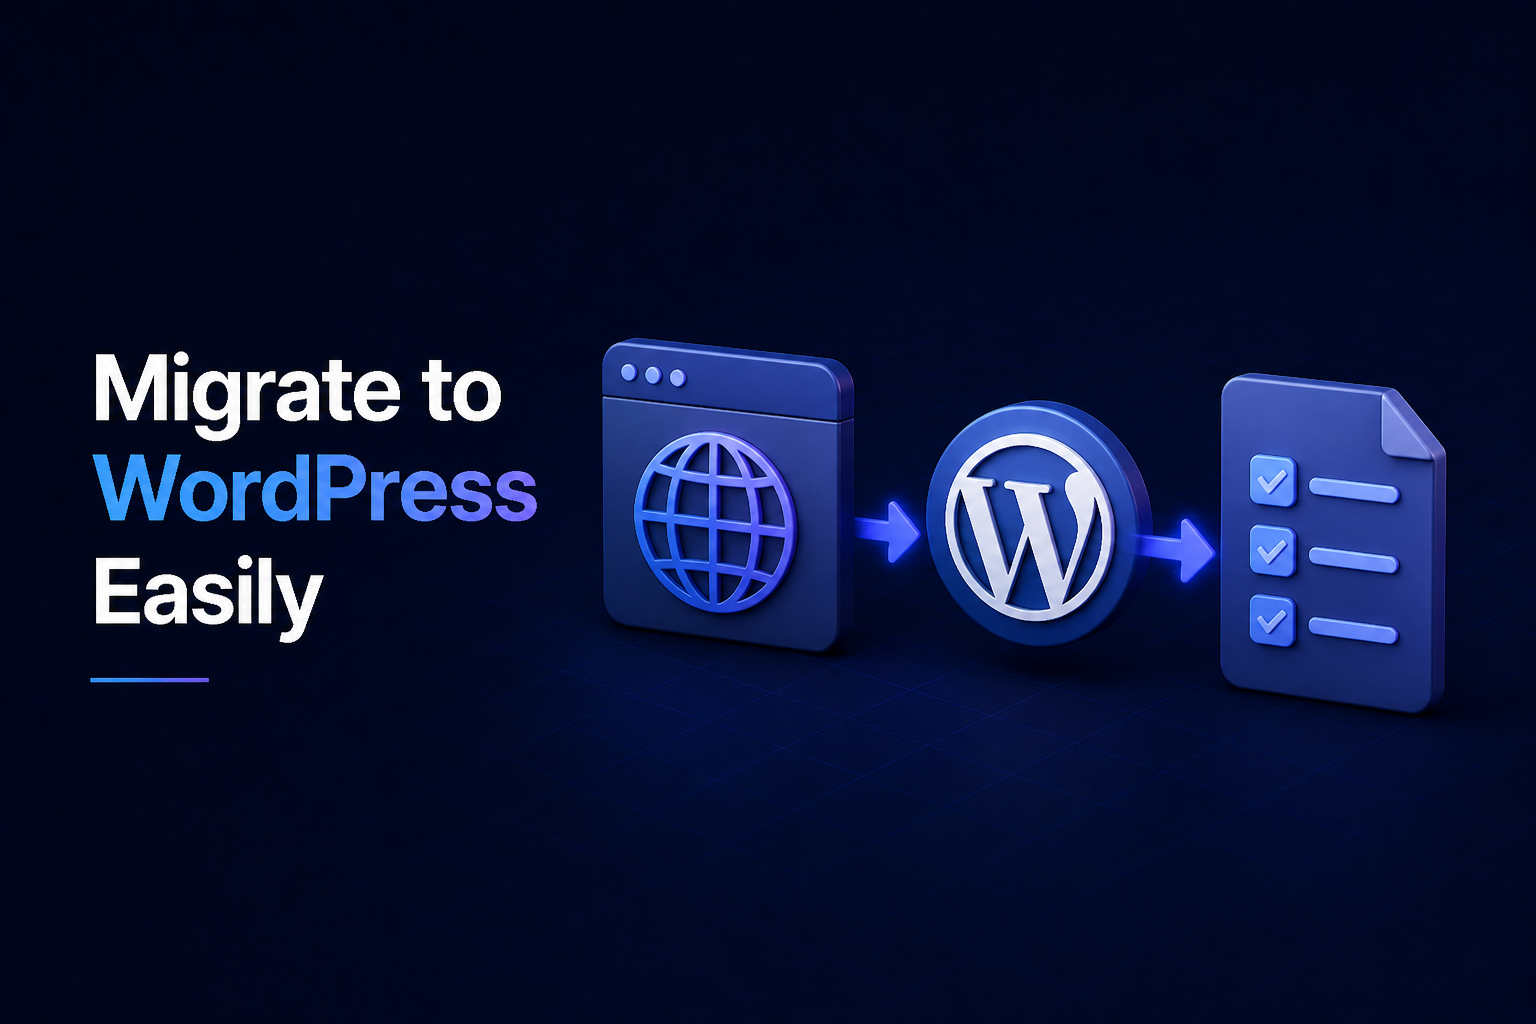
Moving your business website can feel like a daunting task, but for many companies, choosing to migrate to WordPress is a smart strategic move. WordPress powers over 40% of the internet, offering unparalleled flexibility, a vast ecosystem of plugins, and user-friendly content management. If you’ve been considering bringing your business website over to this powerful platform, you’re in the right place. We’ll guide you through the essential steps to ensure a smooth transition.
Why Migrate Your Business Website to WordPress?
Before diving into the “how,” it’s worth understanding the “why.” WordPress is more than just a blogging platform; it’s a robust content management system (CMS) perfectly suited for businesses of all sizes. Migrating your business website can unlock several benefits:
- Enhanced Control & Flexibility: WordPress provides full ownership and control over your content and design.
- Vast Plugin & Theme Ecosystem: From SEO tools to e-commerce functionality, there’s a plugin for almost everything, and thousands of themes to customize your site’s look.
- Scalability: As your business grows, WordPress can easily scale with you, handling increased traffic and content demands.
- SEO Friendliness: WordPress is built with SEO in mind, and numerous plugins help you optimize your content for search engines.
- Community Support: A massive global community means help and resources are always available.
Essential Pre-Migration Steps for Your Business Website
A successful migration starts with thorough preparation. Don’t rush this stage – it’s crucial for minimizing potential issues.
1. Back Up Everything
This is non-negotiable. Before making any changes, create a complete backup of your current website files, database, and any media. Think of it as your safety net.
2. Choose Your Hosting
WordPress requires a hosting provider. Research and select a reliable host that offers good performance, security, and customer support, especially important for a business website. Many hosts offer specific WordPress hosting plans.
3. Set Up Your WordPress Environment
Install WordPress on your chosen hosting. You’ll typically do this through your host’s control panel (like cPanel) using a one-click installer, or manually if you prefer more control.
4. Audit Your Current Content
Take this opportunity to review your existing website content. Is it all still relevant? Are there pages you can consolidate or delete? This streamlines the migration process and ensures you’re only moving valuable assets.
The Step-by-Step Process to Migrate to WordPress
With your preparations complete, it’s time to start the actual migration. This can be done manually, using a plugin, or by hiring a professional.
1. Migrate Your Website Content
This is often the most time-consuming part. For smaller sites, you might copy and paste content page by page. For larger sites, consider:
- Export/Import Tools: Many older CMS platforms have export functions that can generate XML files, which WordPress can import.
- Plugins: Specialized migration plugins (like All-in-One WP Migration or Duplicator) can help automate moving content, databases, and media.
- Manual Database Transfer: For more technical users, directly importing your old database content into WordPress’s structure might be an option, but this requires caution.
2. Transfer Your Media Files
Images, videos, and documents need to be moved to your new WordPress media library. If you used a plugin for content, this might be handled automatically. Otherwise, you may need to manually upload them or use an FTP client to transfer directories.
3. Recreate Your Site’s Design (Theme)
Once your content is in place, you’ll need to select and customize a WordPress theme that aligns with your business’s branding and functionality needs. You can choose from free themes, premium themes, or even have a custom theme developed.
4. Install Essential Plugins
Add plugins for critical functionalities your business website needs, such as SEO (Yoast SEO, Rank Math), security (Wordfence), caching (WP Super Cache, WP Rocket), contact forms (Contact Form 7, WPForms), and e-commerce (WooCommerce).
5. Configure Permalinks
Ensure your permalink structure is SEO-friendly, preferably using ‘Post name’ (/%postname%/). This is vital for maintaining search engine rankings after you migrate to WordPress.
Post-Migration Checks & Going Live
You’re almost there! Before fully launching your migrated business website, perform these crucial checks:
- Test All Functionality: Navigate through every page, test forms, buttons, links, and any e-commerce functionalities.
- Check Responsiveness: Ensure your site looks and functions perfectly on various devices (desktop, tablet, mobile).
- Verify SEO Settings: Double-check your SEO plugin settings, meta descriptions, and titles.
- Set Up Redirects: Crucially, set up 301 redirects from your old URLs to your new WordPress URLs, especially if the URL structure has changed. This preserves SEO value.
- Update DNS: Once you’re confident everything is working, update your domain’s DNS records to point to your new WordPress hosting.
- Submit to Search Engines: Submit your new sitemap to Google Search Console and other search engines.
Migrating your business website to WordPress is an investment in your digital future. While it requires careful planning and execution, the benefits of flexibility, scalability, and control that WordPress offers are well worth the effort. Take your time, follow these steps, and don’t hesitate to seek professional help if you encounter challenges. Your refreshed, powerful business website awaits!


No Comments